Installing pipe reducers requires a comprehensive approach, taking into account fluid characteristics, system stability, and construction standards. Below are the main steps and considerations:
Super Steel Manufacturing Co.,Ltd is professional pipe fittings manufacturer, for more details, please contact:sales@super-steels.com
1. Selection and Inspection
Material Selection:
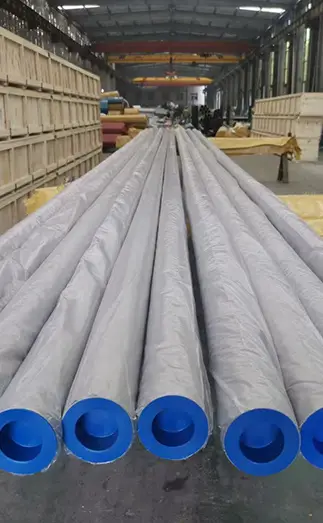
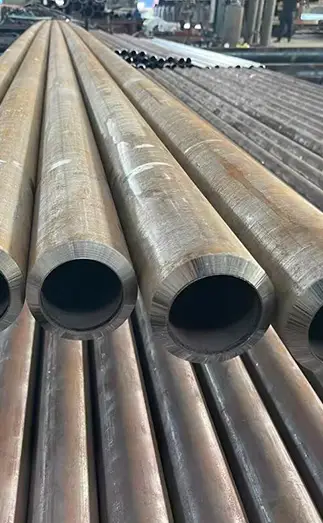
Choose materials (e.g., carbon steel, stainless steel, PVC) based on the nature of the medium—whether it's liquid, gas, or a corrosive substance.
Reducer Type:
Concentric Reducers:
Feature aligned centerlines at both ends, offering smooth, symmetrical transitions. They reduce turbulence and pressure imbalance and are commonly used in vertical pipelines or systems sensitive to cavitation.
Eccentric Reducers:
Have a flat side, making them ideal for horizontal pipe installations. Their design prevents air accumulation or sediment buildup. Use “flat on top” for gas lines to avoid liquid pooling, and “flat on bottom” for liquid lines to prevent air pockets.
Size and Pressure Rating Check:
Verify that the reducer matches the pipe diameter and pressure class to ensure compatibility and safety.
2. Positioning and Orientation
Concentric Reducers:
Install directly at the transition point, ensuring centerline alignment.
Eccentric Reducers:
Gas Systems: Install with the flat side on top to prevent liquid accumulation.
Liquid Systems: Install with the flat side on the bottom to avoid air entrapment.
3. Connection Methods
Welding:
Full penetration welding is recommended for high-pressure applications to ensure a leak-proof seal.
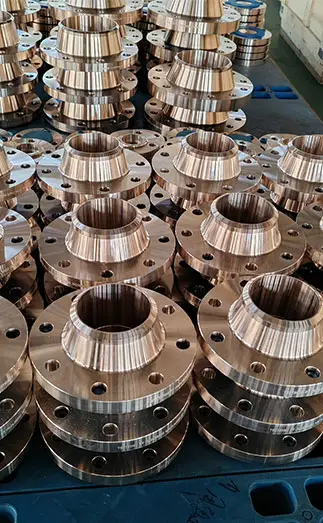
Flanged Connection:
Requires precise bolt hole alignment and proper gasket sealing.
Threaded Connection:
Suitable for small-diameter, low-pressure systems. Use sealant to prevent leaks.
4. Installation Procedure
A. For Concentric Reducers:
Preparation:
Inspect and clean pipe surfaces. Identify the installation location based on flow direction and layout.
Measure and Cut:
Mark and cut the pipe accurately to accommodate the reducer.
Alignment and Marking:
Align the reducer properly and mark the pipe for consistent positioning.
Welding/Threading:
Join the reducer to the pipe per design requirements.
Inspection and Testing:
Check welds or threads, verify alignment, and perform pressure testing to ensure leak-free operation.
B. For Eccentric Reducers:
Site Preparation:
Clear the area and support the pipe to relieve stress on the reducer.
Cutting:
Accurately measure and make clean cuts to fit the reducer.
Positioning:
Install with the correct orientation—flat on top or bottom—based on fluid type.
Securing:
Weld or flange the reducer in place. Ensure high-quality joints and conduct a pressure test.
5. Support and Fixation
Install pipe supports (e.g., sliding or spring supports) near the reducer to prevent stress concentration.
For large-diameter transitions, provide support on both sides.
6. Testing and Acceptance
Conduct hydrostatic or pneumatic testing at 1.5 times the working pressure.
Perform stress analysis for systems with high vibration or dynamic loads.
Key Considerations for Installation
Material Compatibility:
Match the reducer to the pipe material. Consider fluid type, temperature, and pressure.
Corrosive media: Use corrosion-resistant materials (e.g., 316L stainless steel, PTFE-lined reducers).
Particle-laden fluids: Avoid eccentric reducers or install at an incline.
System Pressure & Temperature:
For high-temp/high-pressure applications, choose forged reducers or thicker walls.
For low-temperature environments, use materials with good impact resistance (e.g., austenitic stainless steel).
Pipe Layout:
Avoid placing reducers too close to elbows or valves.
Maintain at least five times the pipe diameter in straight length before/after reducers.
When space is limited, prioritize flow direction (large to small = contraction).
Standards Compliance:
Adhere to ASME B16.9, GB/T 12459, or API 574/SH/T 3408 for specific applications (e.g., flammable media).
Safety Precautions:
Use PPE and certified welders.
Mark reducer orientation (e.g., “TOP” or flow direction arrow).
Include steam traps for steam lines and inspection ports for monitoring.
Common Challenges and Solutions
|
Problem
|
Solution
|
|
Misalignment
|
Use laser alignment tools and perform regular inspections.
|
|
Pressure drop
|
Choose reducers with smooth tapering curves and conduct CFD analysis.
|
|
Cavitation due to sudden flow change
|
Use multi-stage reducers or add pressure-reducing valves.
|
|
Incorrect eccentric reducer orientation
|
Clearly mark installation orientation during fabrication.
|
Conclusion
Proper installation of pipe reducers is vital to achieving seamless transitions, minimizing turbulence, and maintaining system integrity. By selecting the right reducer type and material, following standard practices, and ensuring correct installation orientation and alignment, pipeline systems can operate efficiently and reliably. For complex or critical systems, professional consultation and stress/flow simulation are strongly recommended.


 English
 Español
 Français
 بالعربية